Voice Agent Setup
Setting up a voice agent in Paygent is a streamlined 4-step process. Once configured, you'll be able to track granular metrics like STT minutes, LLM tokens, and TTS characters with precision.
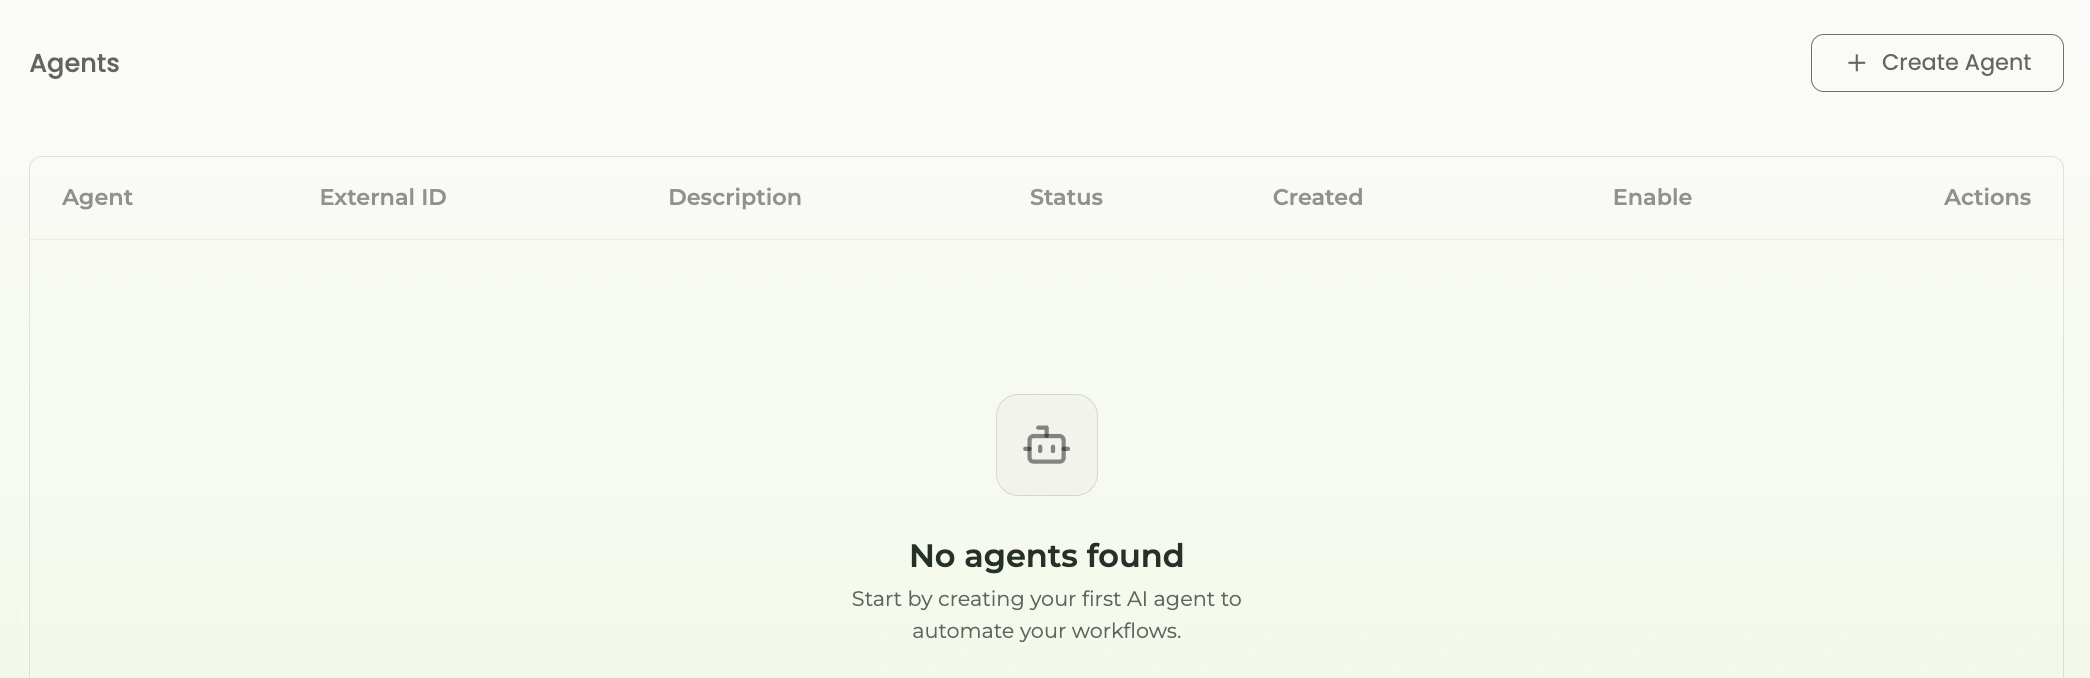
Initialize Creation
From your dashboard, navigate to the Agents tab and click on the 'Create Agent' button to begin the setup.
Define Agent Identity
Provide a descriptive name and a unique External ID. This ID will be your primary identifier in the SDK and API calls.
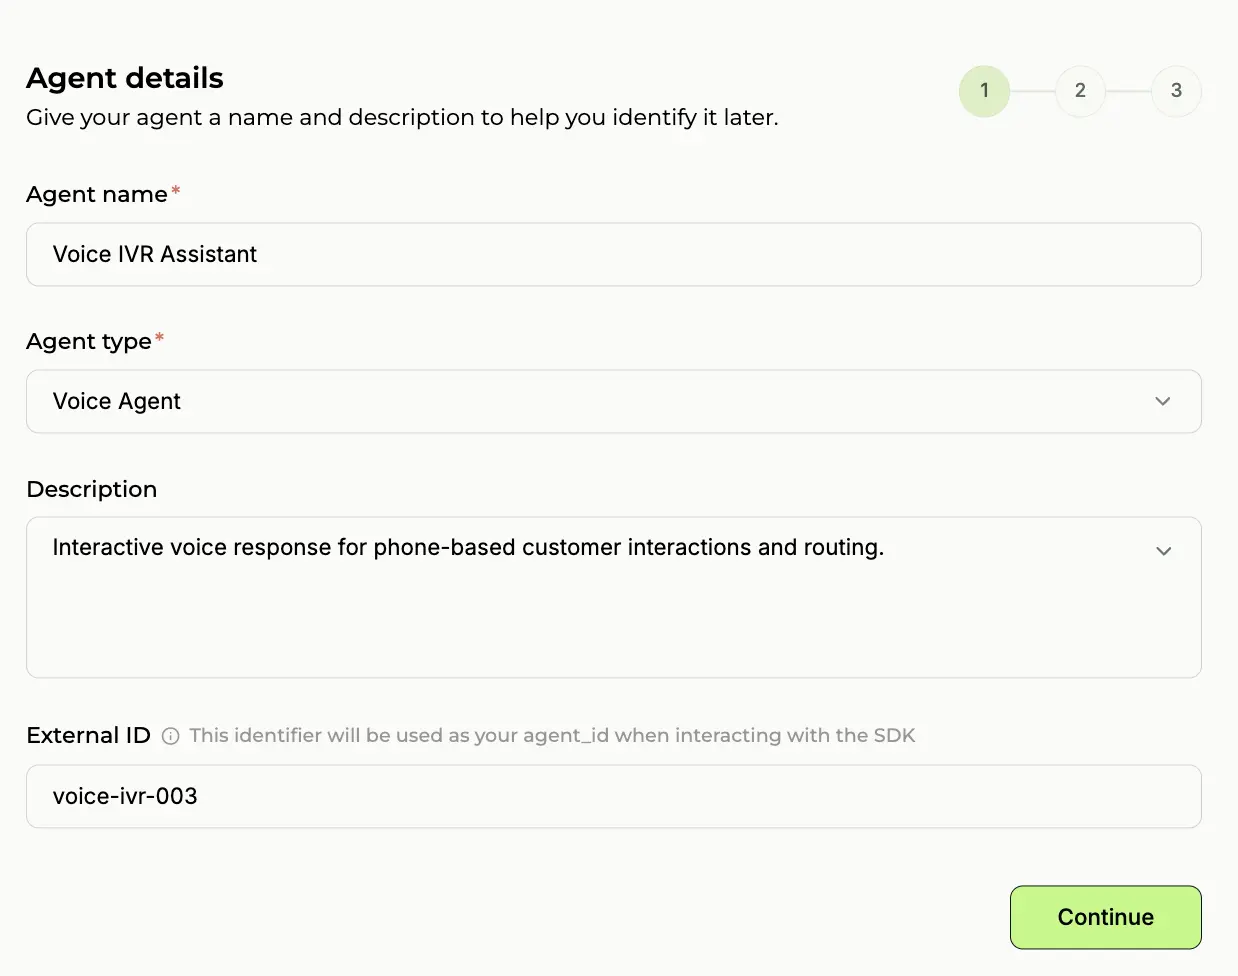
💡 Pro Tip: Use the same ID you use in your own database for seamless mapping.
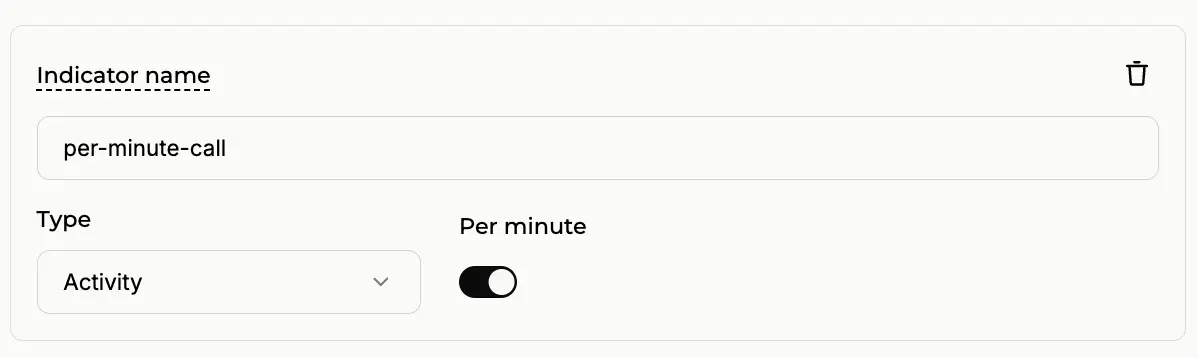
Configure Activity Indicators
Define the events you want to track. For voice, this usually includes 'voice_call_completed' or 'stt_usage'. You can define indicators like this to track specific activities.
Set Pricing Logic
Voice agent companies typically charge based on call duration. You can choose between a fixed price per call or a per-minute rate. For the industry standard, select 'Per Minute' and define your cost per minute (e.g., $0.15/min).
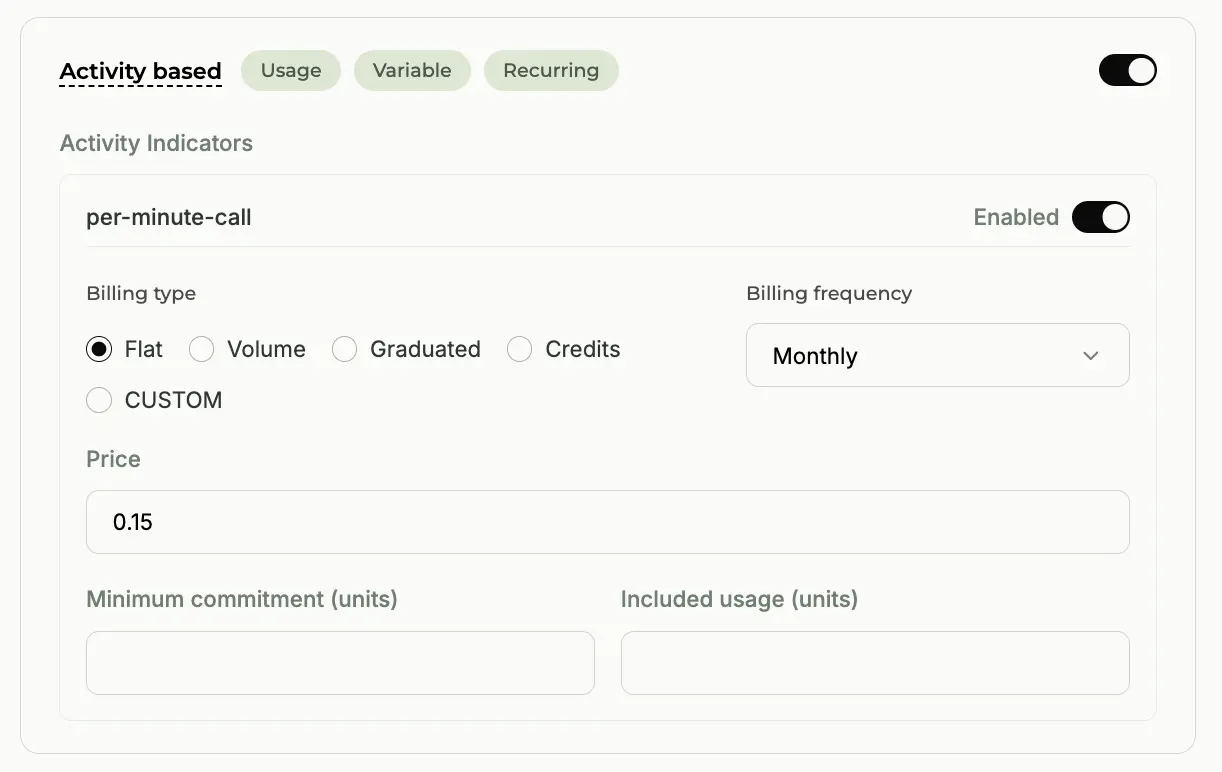
💡 The per-minute model is recommended for voice agents to ensure your revenue scales with usage.
Was this page helpful?
Need help? Contact us at support@withpaygent.com